Welcome to the Nikon D200 user manual guide, designed to help photographers master this professional camera. This manual provides detailed instructions, tips, and settings to optimize your photography experience.
1.1 Overview of the Nikon D200 Camera
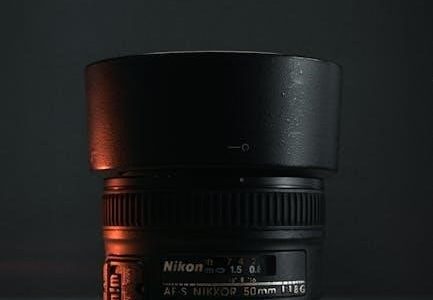
The Nikon D200 is a professional-grade DSLR camera featuring a 10.2-megapixel CCD sensor, ideal for capturing high-resolution images. Designed for enthusiasts and professionals, it offers advanced controls, a 2.5-inch LCD display, and a robust build. The camera supports various metering modes, autofocus systems, and ISO sensitivity up to 3200. With its durability and versatility, the D200 excels in diverse photography scenarios, making it a reliable choice for those seeking precision and quality in their work.
1.2 Importance of the User Manual for Optimal Camera Use
The Nikon D200 user manual is essential for unlocking the camera’s full potential. It provides detailed explanations of features, settings, and troubleshooting, ensuring users can navigate the camera’s complexities. Whether you’re a professional or an enthusiast, the manual offers a comprehensive guide to mastering the D200’s advanced functions. By understanding the manual, photographers can optimize their workflow, resolve common issues, and explore creative possibilities, making it an indispensable resource for achieving exceptional results in various photography scenarios.
Nikon D200 Specifications
The Nikon D200 features a 10.2MP CCD sensor, 2.5-inch LCD, and Multi-CAM 1000 AF system, delivering high-quality images and robust performance for professional photography needs.
2.1 Key Features of the Nikon D200
The Nikon D200 boasts a 10.2-megapixel CCD sensor, offering excellent image quality with a maximum resolution of 3872 x 2592 pixels. It features a 2.5-inch LCD display with a magnification factor of 0;94x, providing clear previews and playback. The camera is equipped with the advanced Multi-CAM 1000 autofocus system, ensuring precise and fast focusing. Additionally, it supports various shooting modes, including Aperture Priority and Manual, and offers ISO sensitivity up to 3200, making it versatile for diverse photography conditions. These features solidify the D200 as a robust tool for professional photographers seeking high-quality results.
2.2 Image Quality and Sensor Details
The Nikon D200 features a 10.2-megapixel CCD sensor, delivering crisp and detailed images with a maximum resolution of 3872 x 2592 pixels. The sensor excels in capturing a wide dynamic range, producing rich tones and vibrant colors. Its ability to handle high ISO settings up to 3200 ensures excellent performance in low-light conditions. The camera’s image processing system minimizes noise, resulting in clean and professional-quality images. These sensor details make the D200 a reliable choice for photographers seeking consistent and high-resolution results across various shooting scenarios.
2.3 LCD Display and Viewfinder Specifications
The Nikon D200 features a 2.5-inch LCD display with 230,000 dots, offering clear image preview and menu navigation. The screen provides a wide viewing angle and adjustable brightness for optimal visibility. The optical viewfinder boasts a 0.94x magnification and 95% frame coverage, ensuring precise composition. Additional features include a built-in diopter adjustment for tailored eye comfort. These specifications enhance the camera’s usability, allowing photographers to review shots and frame subjects with accuracy and ease, even in challenging lighting conditions.
External Controls and Menu Navigation
The Nikon D200’s external controls provide quick access to key settings like ISO, metering modes, and autofocus options. The menu system offers customizable options for efficient workflow management.
3.1 Understanding the Camera’s External Controls
The Nikon D200 features a comprehensive set of external controls designed for intuitive operation. Key buttons include ISO adjustment, metering mode selection, and autofocus controls. The camera’s layout allows quick access to settings like white balance and exposure compensation. The multi-selector facilitates menu navigation, while the Mode dial offers direct access to shooting modes. Customizable buttons enable personalized setup, enhancing efficiency. Understanding these controls is essential for maximizing the camera’s potential and streamlining your workflow during shoots. Familiarizing yourself with their functions ensures smoother operation and better control over image capture.
3.2 Navigating the Custom Setting Menus
The Nikon D200’s custom setting menus allow users to tailor camera settings to their preferences. Accessible via the menu button, these menus are navigated using the multi-selector. The menus are organized into categories for easy access, such as autofocus, metering, and exposure settings. Users can adjust options like AF-C mode priority and metering patterns. The reset option restores default settings, helpful for troubleshooting. Understanding these menus enables precise control over camera behavior, ensuring optimal performance in various shooting conditions. Regular use enhances familiarity, streamlining workflow and improving photography outcomes.

Downloading and Installing the Nikon D200 Manual
Access the Nikon D200 manual via Nikon’s official website. Download the PDF for easy reference and troubleshooting. Digital copies are convenient and always accessible for guidance.
4.1 How to Access the Digital Copy of the Manual
To access the Nikon D200 manual, visit Nikon’s official website and navigate to the support section. Select your camera model, then download the PDF manual. Ensure you’re using a reliable internet connection for a smooth download. Once downloaded, save the file to your device for easy access. Printing the manual is also an option for offline use. Always verify the manual’s authenticity to avoid incorrect information. This digital copy provides comprehensive guidance for optimal camera use and troubleshooting.
4.2 Tips for Printing and Organizing the Manual
For easy reference, print the Nikon D200 manual on high-quality paper. Use a binder to organize sections like specifications, controls, and troubleshooting. Print odd and even pages separately to create a book-like format. Consider using double-sided printing to save space. Tab dividers can help navigate between chapters quickly. Store the manual in a protective cover to prevent damage. This organized approach ensures quick access to information, making it ideal for photographers who prefer physical copies for hands-on learning and quick troubleshooting.
Tips and Tricks for Using the Nikon D200
Master the Nikon D200 with expert tips: use AF-C mode for sharp action shots, optimize metering mode for balanced exposure, and adjust ISO for low-light clarity;
5.1 Recommended Settings for Different Photography Modes
- Portrait Mode: Use AF-C mode for sharp subject focus and set metering mode to 3D Matrix Metering for balanced exposure.
- Landscape Mode: Enable Manual Focus for precise control and set ISO to 100-400 for minimal noise.
- Sports/Action Mode: Select fast shutter speeds (1/1000th of a second or faster) and enable Continuous AF for dynamic tracking.
- Low-Light Mode: Use high ISO (up to 1600) with noise reduction enabled for clearer images in dim conditions.
These settings ensure optimal results across various photography scenarios.
5.2 Advanced Techniques for Capturing High-Quality Images
- Master the Multi-CAM 1000 AF system for precise autofocus control, especially in dynamic situations.
- Experiment with white balance adjustments to achieve accurate colors in various lighting conditions.
- Use flash synchronization, such as rear curtain sync, for creative lighting effects.
- Employ bracketing to capture a range of exposures for HDR imaging.
- Shoot in RAW format to preserve maximum image detail for post-processing.
- Leverage low-light capabilities by using high ISOs with noise reduction enabled.
- Reset the camera periodically to avoid mode conflicts from previous settings.
These techniques enhance image quality and unlock the D200’s full potential.
Troubleshooting Common Issues
Resolve error messages by resetting the camera or checking connections. Address freezes by turning the camera off and on. Use the manual for detailed solutions to common malfunctions.
6.1 Resolving Error Messages and Camera Malfunctions
To address error messages, restart the camera or reset it to factory settings. Check battery levels and memory card compatibility. For specific codes, refer to the manual for solutions. If the camera freezes, power it off and on. Clean the lens and sensor to avoid malfunctions. Ensure firmware is updated for optimal performance. Consult the troubleshooting guide for detailed fixes to common issues like aperture errors or flash malfunctions. Regular maintenance and proper handling can prevent many problems.
6.2 Resetting the Camera to Factory Settings
Resetting the Nikon D200 to factory settings can resolve persistent issues or prepare it for sale. Navigate to the Custom Setting Menu, select “Reset,” and confirm; This restores default settings, erasing custom configurations. Alternatively, remove the battery for 30 seconds to reset. Note that this will clear all user-defined settings. After resetting, recalibrate your preferences for optimal performance. Use this feature cautiously, as it will erase all customized settings and return the camera to its original state, ensuring a clean slate for new use or troubleshooting. Always back up important settings before resetting.
The Nikon D200 in Modern Photography
The Nikon D200 remains a viable option for photographers today, offering durability and compatibility with modern lenses, making it a reliable choice for those seeking classic DSLR functionality.
7.1 Is the Nikon D200 Still Relevant Today?
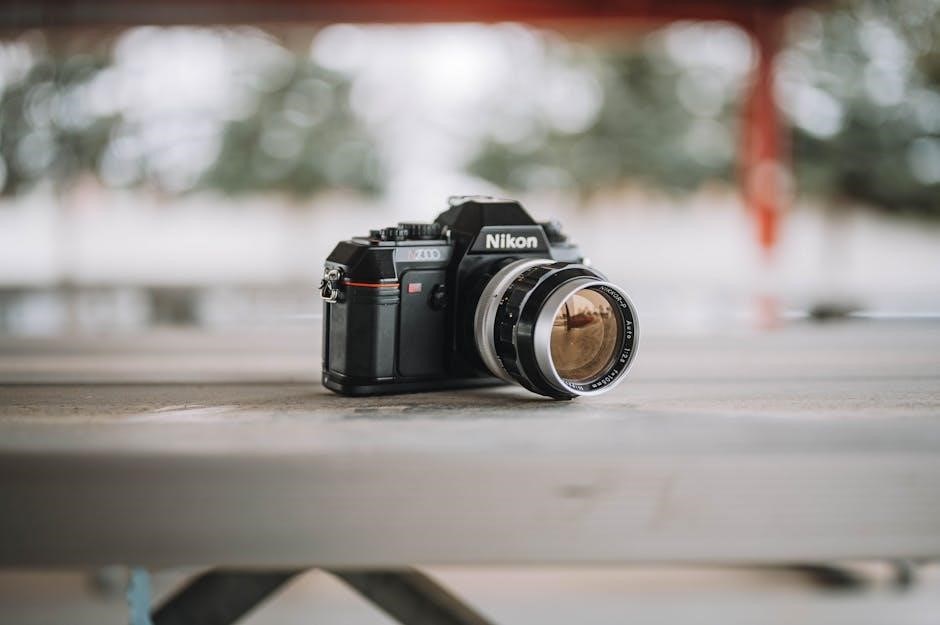
The Nikon D200, despite its release in 2005, remains relevant for enthusiasts and professionals seeking a reliable DSLR. Its robust build, compatibility with modern lenses, and excellent image quality make it a viable option; While it lacks modern features like video recording, its 10.2MP sensor still delivers impressive results. For those who value durability and classic DSLR functionality, the D200 is a budget-friendly choice. Its manual controls and customization options also appeal to photographers who prefer hands-on shooting experiences, ensuring its place in modern photography.
7.2 Best Practices for Maintaining and Upgrading the Camera
To maintain the Nikon D200, regularly clean the sensor and lens to prevent dust buildup. Use a soft cloth for the exterior and a cleaning kit for the sensor. Update firmware to ensure optimal performance. For upgrades, consider high-quality lenses to enhance image quality. Proper storage in a dry environment and avoiding extreme temperatures will extend its lifespan. While hardware upgrades are limited, maintaining the camera’s condition ensures it remains a reliable tool for photography. Regular checks and maintenance routines are essential for preserving its functionality and image quality over time.
The Nikon D200 remains a powerful tool for photographers, offering exceptional image quality and durability. By following this manual, users can master its features, troubleshoot issues, and maintain optimal performance; Despite its age, the D200’s capabilities continue to impress, making it a valuable asset for both professionals and enthusiasts. Regular maintenance and understanding its settings ensure long-term reliability. With proper care and knowledge, the Nikon D200 can deliver outstanding results, proving its relevance in modern photography. This guide provides a comprehensive foundation, empowering users to unlock the camera’s full potential and enjoy a rewarding photography experience.